
How to Use a Cat Eye Magnet: 4 Techniques
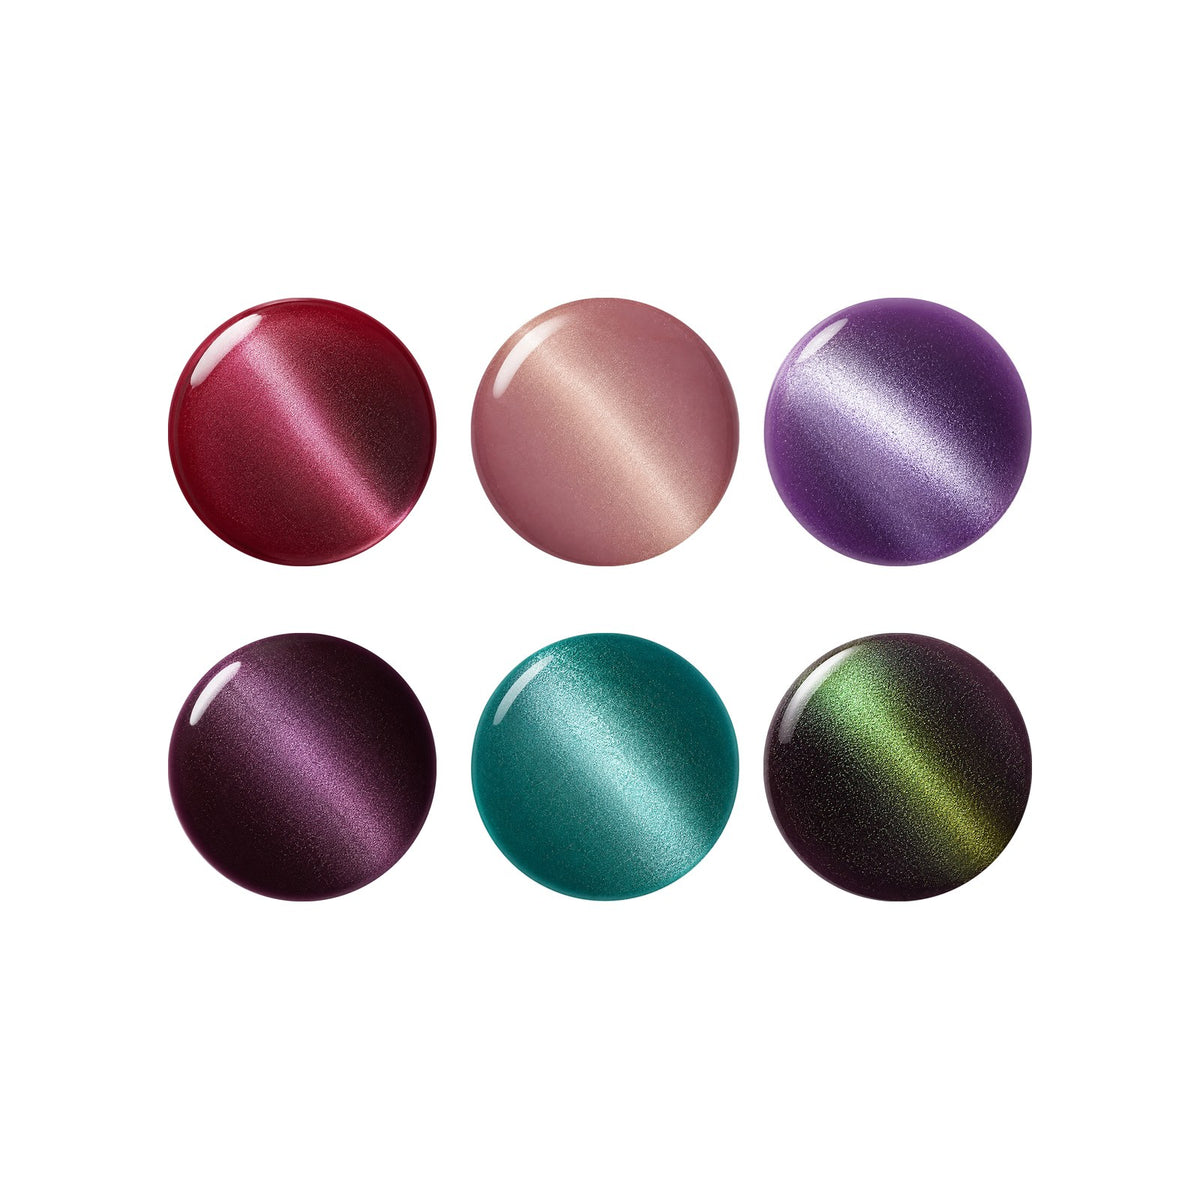
The gel makes the color. The magnet makes the look. A cat eye magnet is the tool that pulls the magnetic particles in NAILED IT! gel into lines, glows, and halos — and small changes in where you hold it create noticeably different nails. This guide covers the four ways to hold it, the timing rules that always apply, and how to practice without committing all ten nails at once.
The full painting routine — prep, apply, cure — lives in how to use magnetic gel polish. This page is about the step that happens between apply and cure: the magnet.
What the Magnet Actually Does
NAILED IT! gel contains fine magnetic particles. While a layer is wet, the magnet pulls those particles together, and wherever they gather, the light reads brighter. Once the layer cures, the pattern is fixed — the magnet works while the gel is wet, and only then.
That is the whole mechanism. Every cat eye look is a variation of two things: where the magnet sits, and how long it stays there.
It also rewards one habit: paint one nail, magnetize it, cure it, then move to the next. Working nail-by-nail keeps every layer wet exactly when the magnet needs it — and keeps a freshly magnetized layer from smudging while you work on its neighbors.
Before You Start
- A magnetic gel shade — the effect needs magnetic particles in the formula, and every NAILED IT! shade carries them (Shade Library)
- A cat-eye magnet — required for the effect, sold separately
- A UV lamp for curing
Prep the nail and apply one thin, even layer first. The magnet never works on a cured layer or a dry nail — wet gel is the canvas.
Technique 1: The Cat Eye Line
How to hold it: hold the magnet flat over the nail while the layer is still wet.
What happens: a straight beam gathers across the nail — the classic cat eye line, and the look most people mean when they say "cat eye nails."
Variations: closer for a tighter, sharper line; farther away for a softer one. Hold it level for a horizontal beam or rotate it for a diagonal.
Technique 2: Velvet
How to hold it: slightly farther away than the cat eye line, moving in small passes over the wet layer.
What happens: light spreads as a soft, diffuse shimmer instead of a hard beam — a velvet finish across the whole nail.
Variations: fewer passes leave more movement in the shimmer; longer passes even it out. Velvet is the most forgiving of the four looks.
Technique 3: Halo
How to hold it: hold the magnet above the nail tip.
What happens: the light gathers around the edge of the nail, leaving the center quieter — a halo of light instead of a line through it.
Variations: the closer to the tip, the tighter the halo sits to the edge.
Technique 4: Side Glow
How to hold it: angle the magnet from one side of the nail.
What happens: the beam shifts off-center for an asymmetric, editorial finish.
Variations: left or right changes which edge lights up; the angle decides how far off-center the beam sits.
Timing and Layering Rules
- A short hold of magnetizing per layer, adjusted to the effect you want — closer and longer for stronger gathers, farther and shorter for softer ones.
- Each layer completes its own cycle: Apply → Magnetize → Cure. Never magnetize two wet layers at once.
- Cure under a curing lamp, following the lamp maker's gel-polish settings.
- Working over All Black? Cure the black fully first, then apply your color, magnetize, and cure — the dark base is what makes Aurora Spectrum read deep and high-contrast.
Practice on One Nail First
The magnet is forgiving: the layer stays wet long enough to adjust, and small changes in distance and angle create noticeably different light. Practice the hold on one nail, cure it, and compare before you commit to all ten. If a nail comes out quieter than you wanted, add a second thin layer and magnetize that layer on its own — every layer gets its full cycle.
Magnet Questions
How close should the magnet be?
Close to the nail without touching the gel. Contact can drag the wet layer; distance controls intensity.
How long do I hold it?
A short hold per layer. The pattern forms while the layer is wet and stops moving once the layer cures.
Which look should I try first?
The classic cat eye line — hold the magnet flat, count five, cure. Velvet is a close second and the most forgiving of the four.
Where can I see the looks?
The Magnetic Looks page breaks down all four techniques, and every shade in the Shade Library works with all of them.
Find Your Light
Pick a shade, paint one thin layer, hold the magnet over the wet layer — the light moves where you point it. Aurora Spectrum shows the most dramatic version of the trick: one shade, two light states.
Shape the Light.